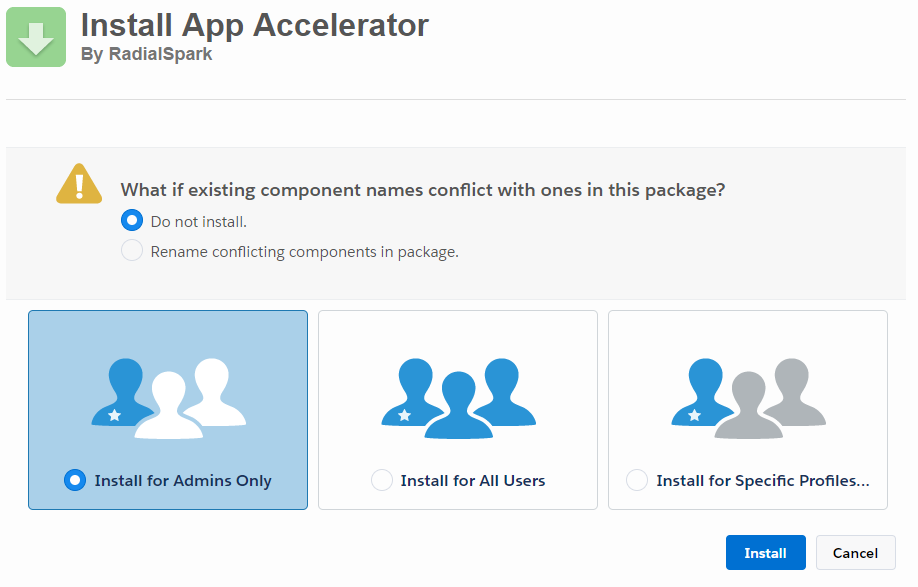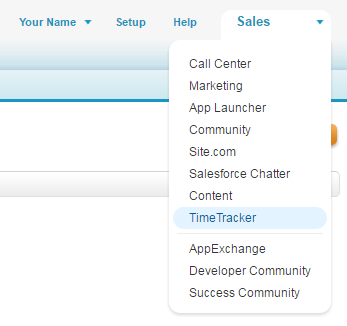

- Install the TimeTracker unmanaged package to your Salesforce org.
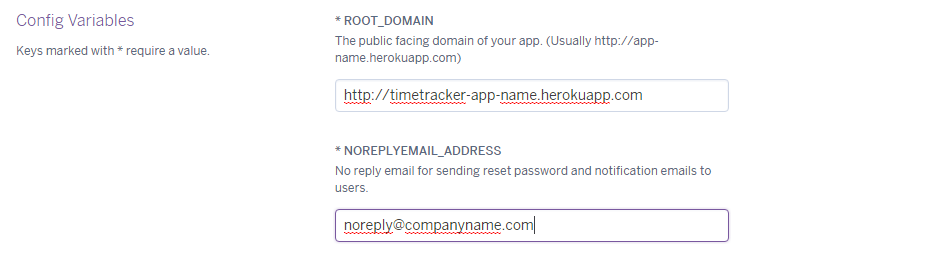
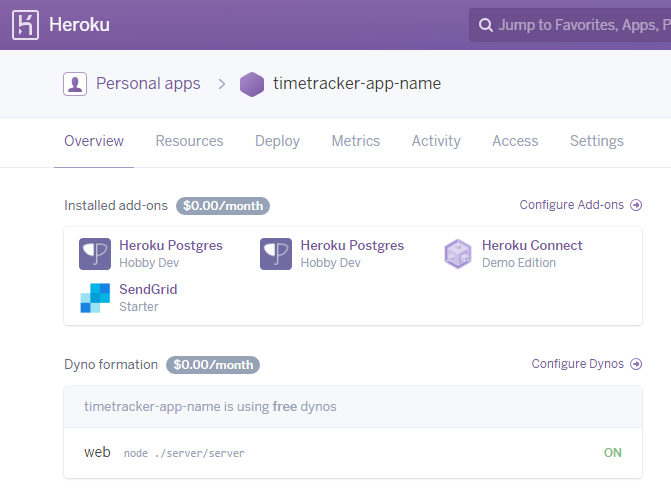
Step-by-step Salesforce instructions - Deploy a copy of the app to Heroku.
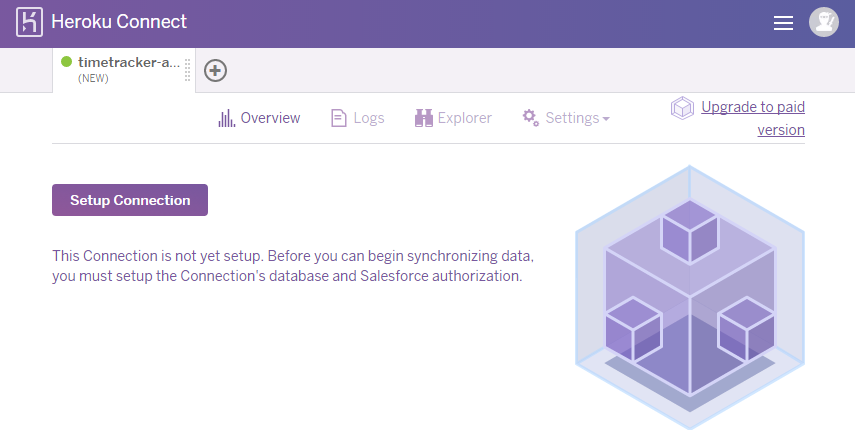
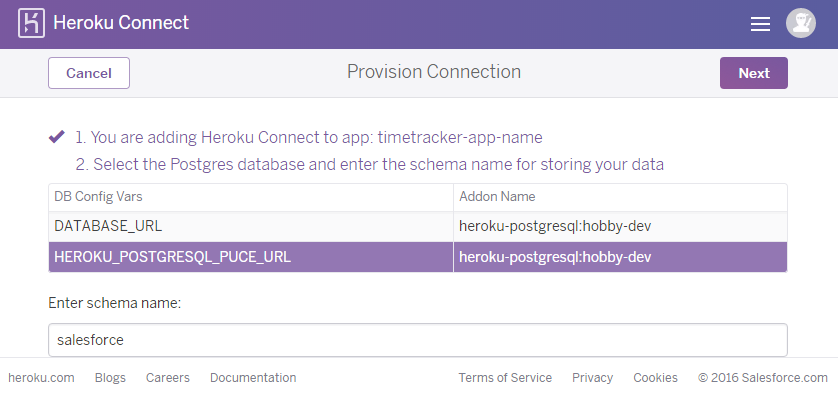
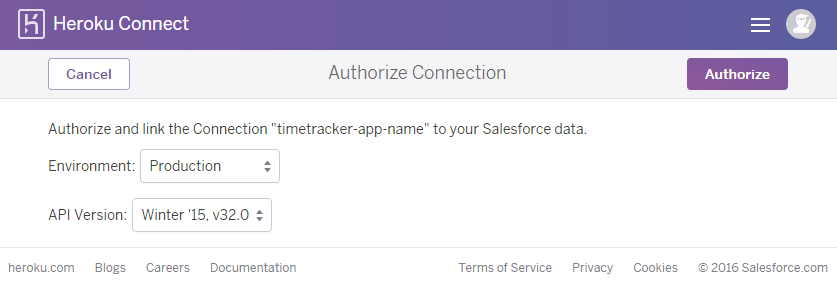
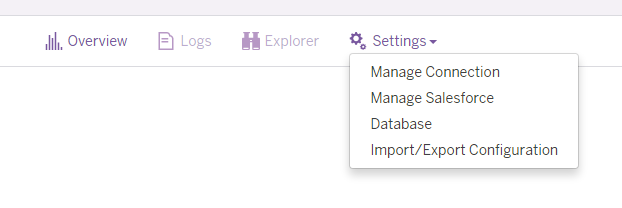
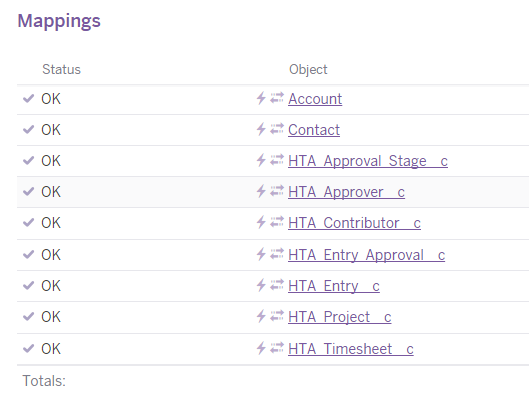
Step-by-step Heroku instructions - Connect the Heroku Connect add-on to your Salesforce org, and import the configuraton json.
Step-by-step Heroku Connect instructions - Restart your Heroku App dynos.
Step-by-step Heroku Dyno Restart instructions - Finish setting up the app by giving yourself a user.
- Once your app is set up, get started with the TimeTracker Walkthrough.